How Do You Fix A Dripping Tap
HOW DO YOU FIX A DRIPPING TAP
A Five-Minute Read
How do you fix a dripping tap is much easier than you think. Before we get into how to fix this problem that almost all households face. We will do our best to inform you the reason why if you are experiencing a dripping tap, this should not go unnoticed and fixed as soon as possible.
Did you know that a dripping tap can waste vast amounts of water? Experts state that single dripping tap from one tap can expel a drip every second. Wasted water adds up to 21 litres of water per day. Adding that all up, that is a whole lot of water being wanted per day and can add up to hundreds of pounds extra spending on your water bill per year.
Difference Between Leaking and Dripping Tap
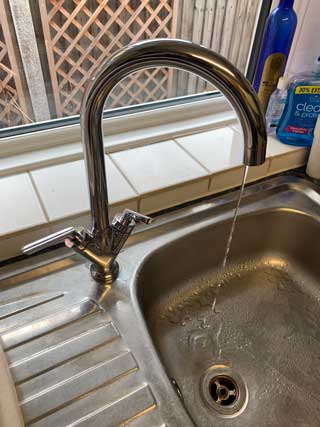
People often confuse the two, however, a leaking tap is one that can spring a leak from any part of the tap, which includes the sprout, the handle or the body. Should you have a dripping tap, however, this normally drips from the sprout (that’s the place where the water comes out for novices like you and me). Now that we have cleared up the difference, let us get stuck into how to fix this.
Different Types of Taps or Faucets For Our US Cousins.
Usually two different types of taps or faucets for our American neighbours across the pond. There is the monobloc tap, i.e: one tap with two separate handles for hot and cold mixing. This can further be broken down into monobloc tap with ceramic cartridges or one with a rubber seal/washer. Then we have the tap handles that are separate i.e: one for hot and the other for cold.
Either of the two is considered to be traditional taps.
Let’s Get Started
You are going to need a set of tools to get this drip under control.


Tools Required
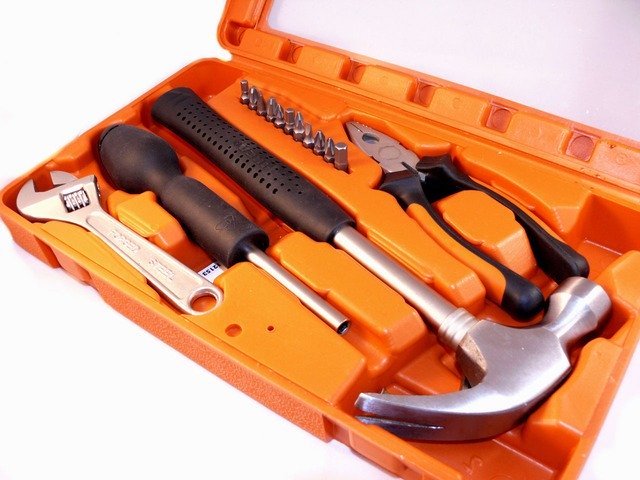
These are the most common tools required by you to get started. If you are like the tool enthusiasts, this is the point you go for your tool chest, but for most of us, the list below are the tools required. Regarding the others and you know who you are, if you don’t have any tools then you have to ask a neighbour.
- Screwdriver
- Adjustable spanner
- Washer or replacement cartridge
- WD40 or an alternative
- Lubricant
- PTFE tape

Here We Go
The first and most important thing to do is to turn your water off. Want tips on how to turn off your water via an isolation valve, please see our previous blog. Wouldn’t want to leave this on then we would have a bigger problem on our hands.
Since you have now managed to turn off your water supply, remove the defective area that is dripping, which could be either the ceramic discs or the washer. Sometimes because the area may have been dripping for weeks/months limescale can build up. Spraying it with WD40 to help loosen the tap parts up. Wait for a little time to pass, 5 – 10 minutes, before attempting to unscrew the tap parts.
At other times, you may need to spray some other lubricant on the area in addition to WD40 to loosen it up. Leave this for at least 30 minutes longer.
Having now managed to remove the defective part, you will then be able to see what part needs to be replaced. If the defective part is held in by a screw, remove the screw. More than likely it will be a washer or a cartridge that needs to be replaced.
Let’s Get Stuck In
Go ahead and replace the part that needs replacement. Unlike most of us who have never done this before, it will seem a bit overwhelming but hang in there because it is not as bad as it seems and if you have got this far, you are nearly done. All geared up and ready to go but you do not have the replacement part at hand. Don’t stress, just nip out to your local hardware store and purchase the replacement part.
First Time DIYer
Never undertaken or carried out this type of DIY before! In order to save a few trips to the hardware store because you bought the wrong size washer or ceramic disc. Best to either take a video or take the part that you have removed from the tap or as our American counterparts say faucet.
Have You Forgotten Something
Cannot believe that you have forgotten to purchase the part you require you may wonder, hmm!! Just like going into a shoes or handbag bag store is for women so too is going into a hardware store especially for men.
Your eyes become all lit up like a magpie when you see all those shiny tools. You start to drool over them and start coming up with all different DIY projects you can do around the house or start justifying why you need a new tool. Come on admit it, you know it is the truth. You are seeing, small screws, grub screw, hexagonal nut, metal shroud. New things you have not been exposed to before.
There you go, you have bought hundreds of pounds worth of new tools. When all you went into the hardware store to purchase is a replacement tap washer or tap cartridge. A part that costs anywhere between £2.00 – £20.00.
So now, you are home, you have the newly purchased part in addition to some additional tools that you never even knew existed, and you are ready to go.
Quick Reminder
Remember to put the plug in the sink plug because believe it or not, the washer can slip out of your hand quite easily and then you will be left saying words that you don’t want to.

Like most of us who have never done this before much less own a screwdriver or a spanner take our advice. Should you have any doubts, leave this to the professionals. Asking yourself, why?
Simply put, tools can be very expensive and some taps require specialist tools which could cost you around £60 which I am sure you will not want to spend on a single tool.
Some won’t even attempt to do this and would rather obtain the services of professionals then contact us, and we will get you drip-free and up and running again in no time.
