How To Fix A Leaking Tap
HOW TO FIX A LEAKING TAP
How to fix a leaking tap is often one of the most plumbing terms searched for on the internet. Believe it or not, this is one of the tasks that is attempted by DIYers on a very regular basis. After all, in London, most people are competent in fixing a leaking tap therefore, it cannot be that hard. If you have a monobloc mixer tap or basin mixers that is leaking, it can be one of the most annoying noises to hear, with the constant dripping of water from either the kitchen or bathroom tap.
What Causes A Tap To Leak?
There are numerous things that can cause a tap to start leaking. These can include corrosion, limescale built up on the inside of the tap, a defective washer, a damaged valve seat, excessive water pressure or a damaged cartridge just to name a few.
Places Where A Tap Can Have A Leak
A tap does not necessarily have to leak from the sprout (where the water comes out for you and I) but it can also leak from where the lever is , that is, what you use to turn on your tap. If you can see water coming from the sprout, then it is likely that the washer needs changing or re-seating. However, if the leak is coming from the lever then the likelihood is that the o-ring has split or perished and needs changing (stay tuned for next blog, don’t to confuse you too much).
What Type Of Tap Do You Have
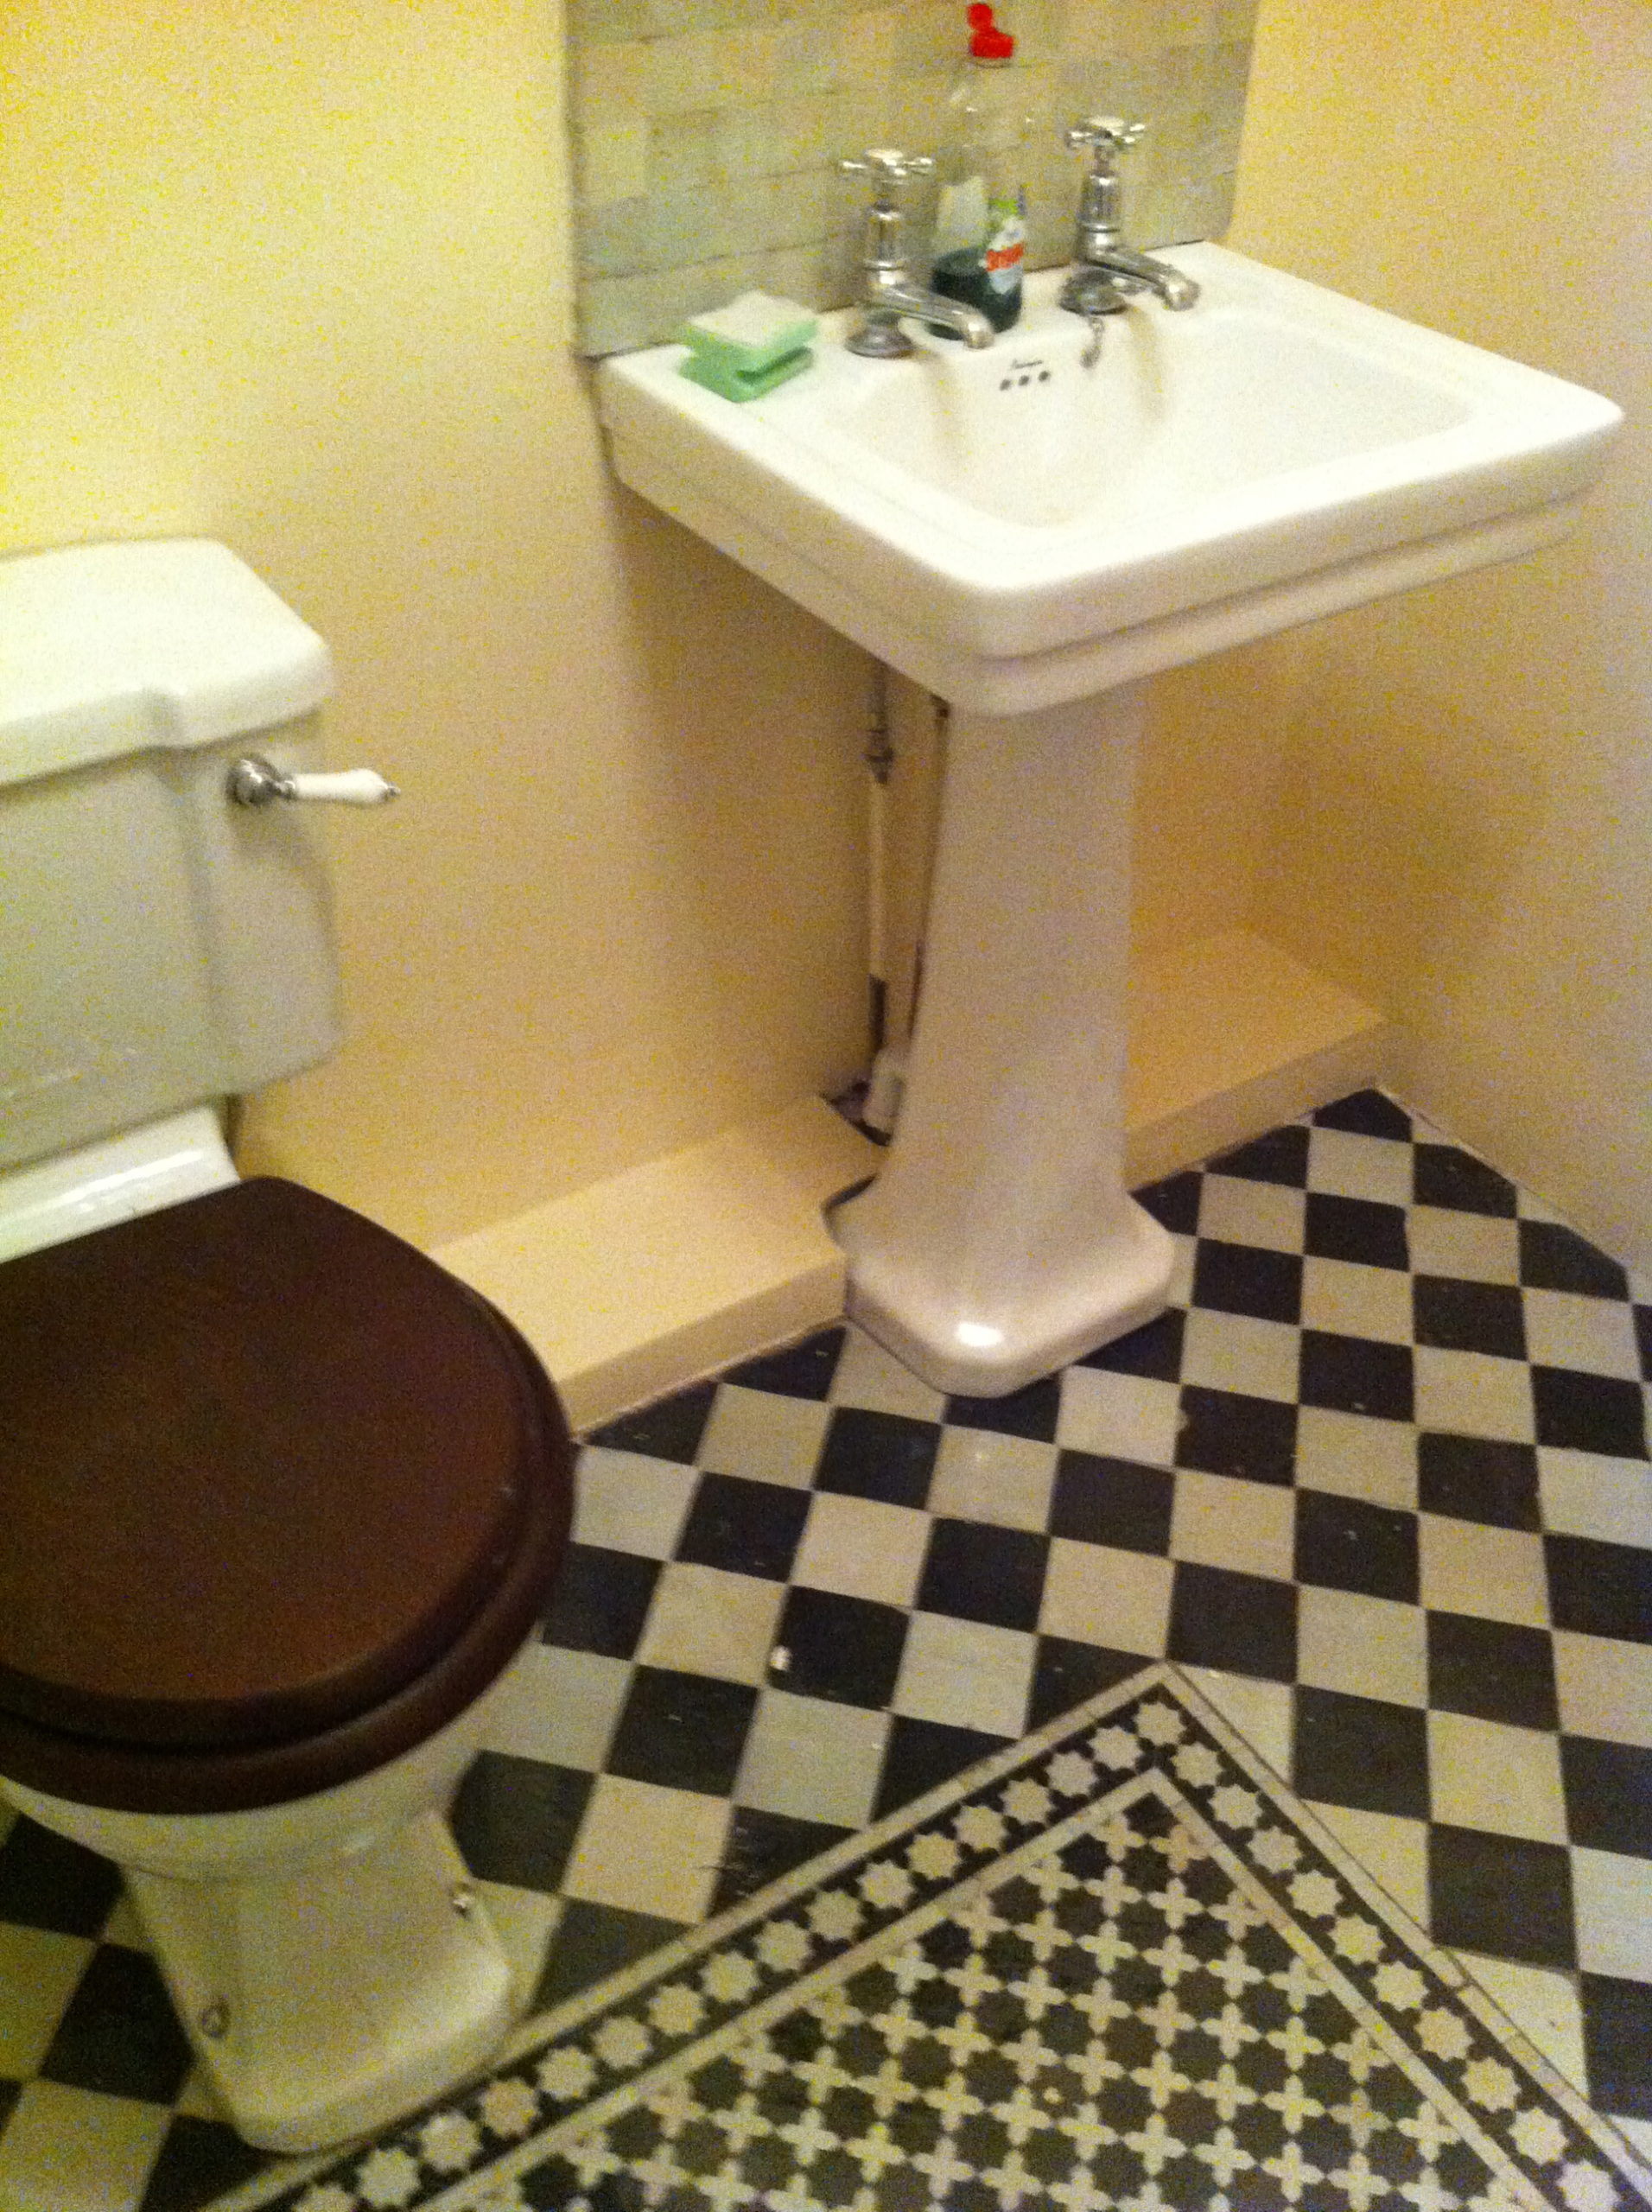
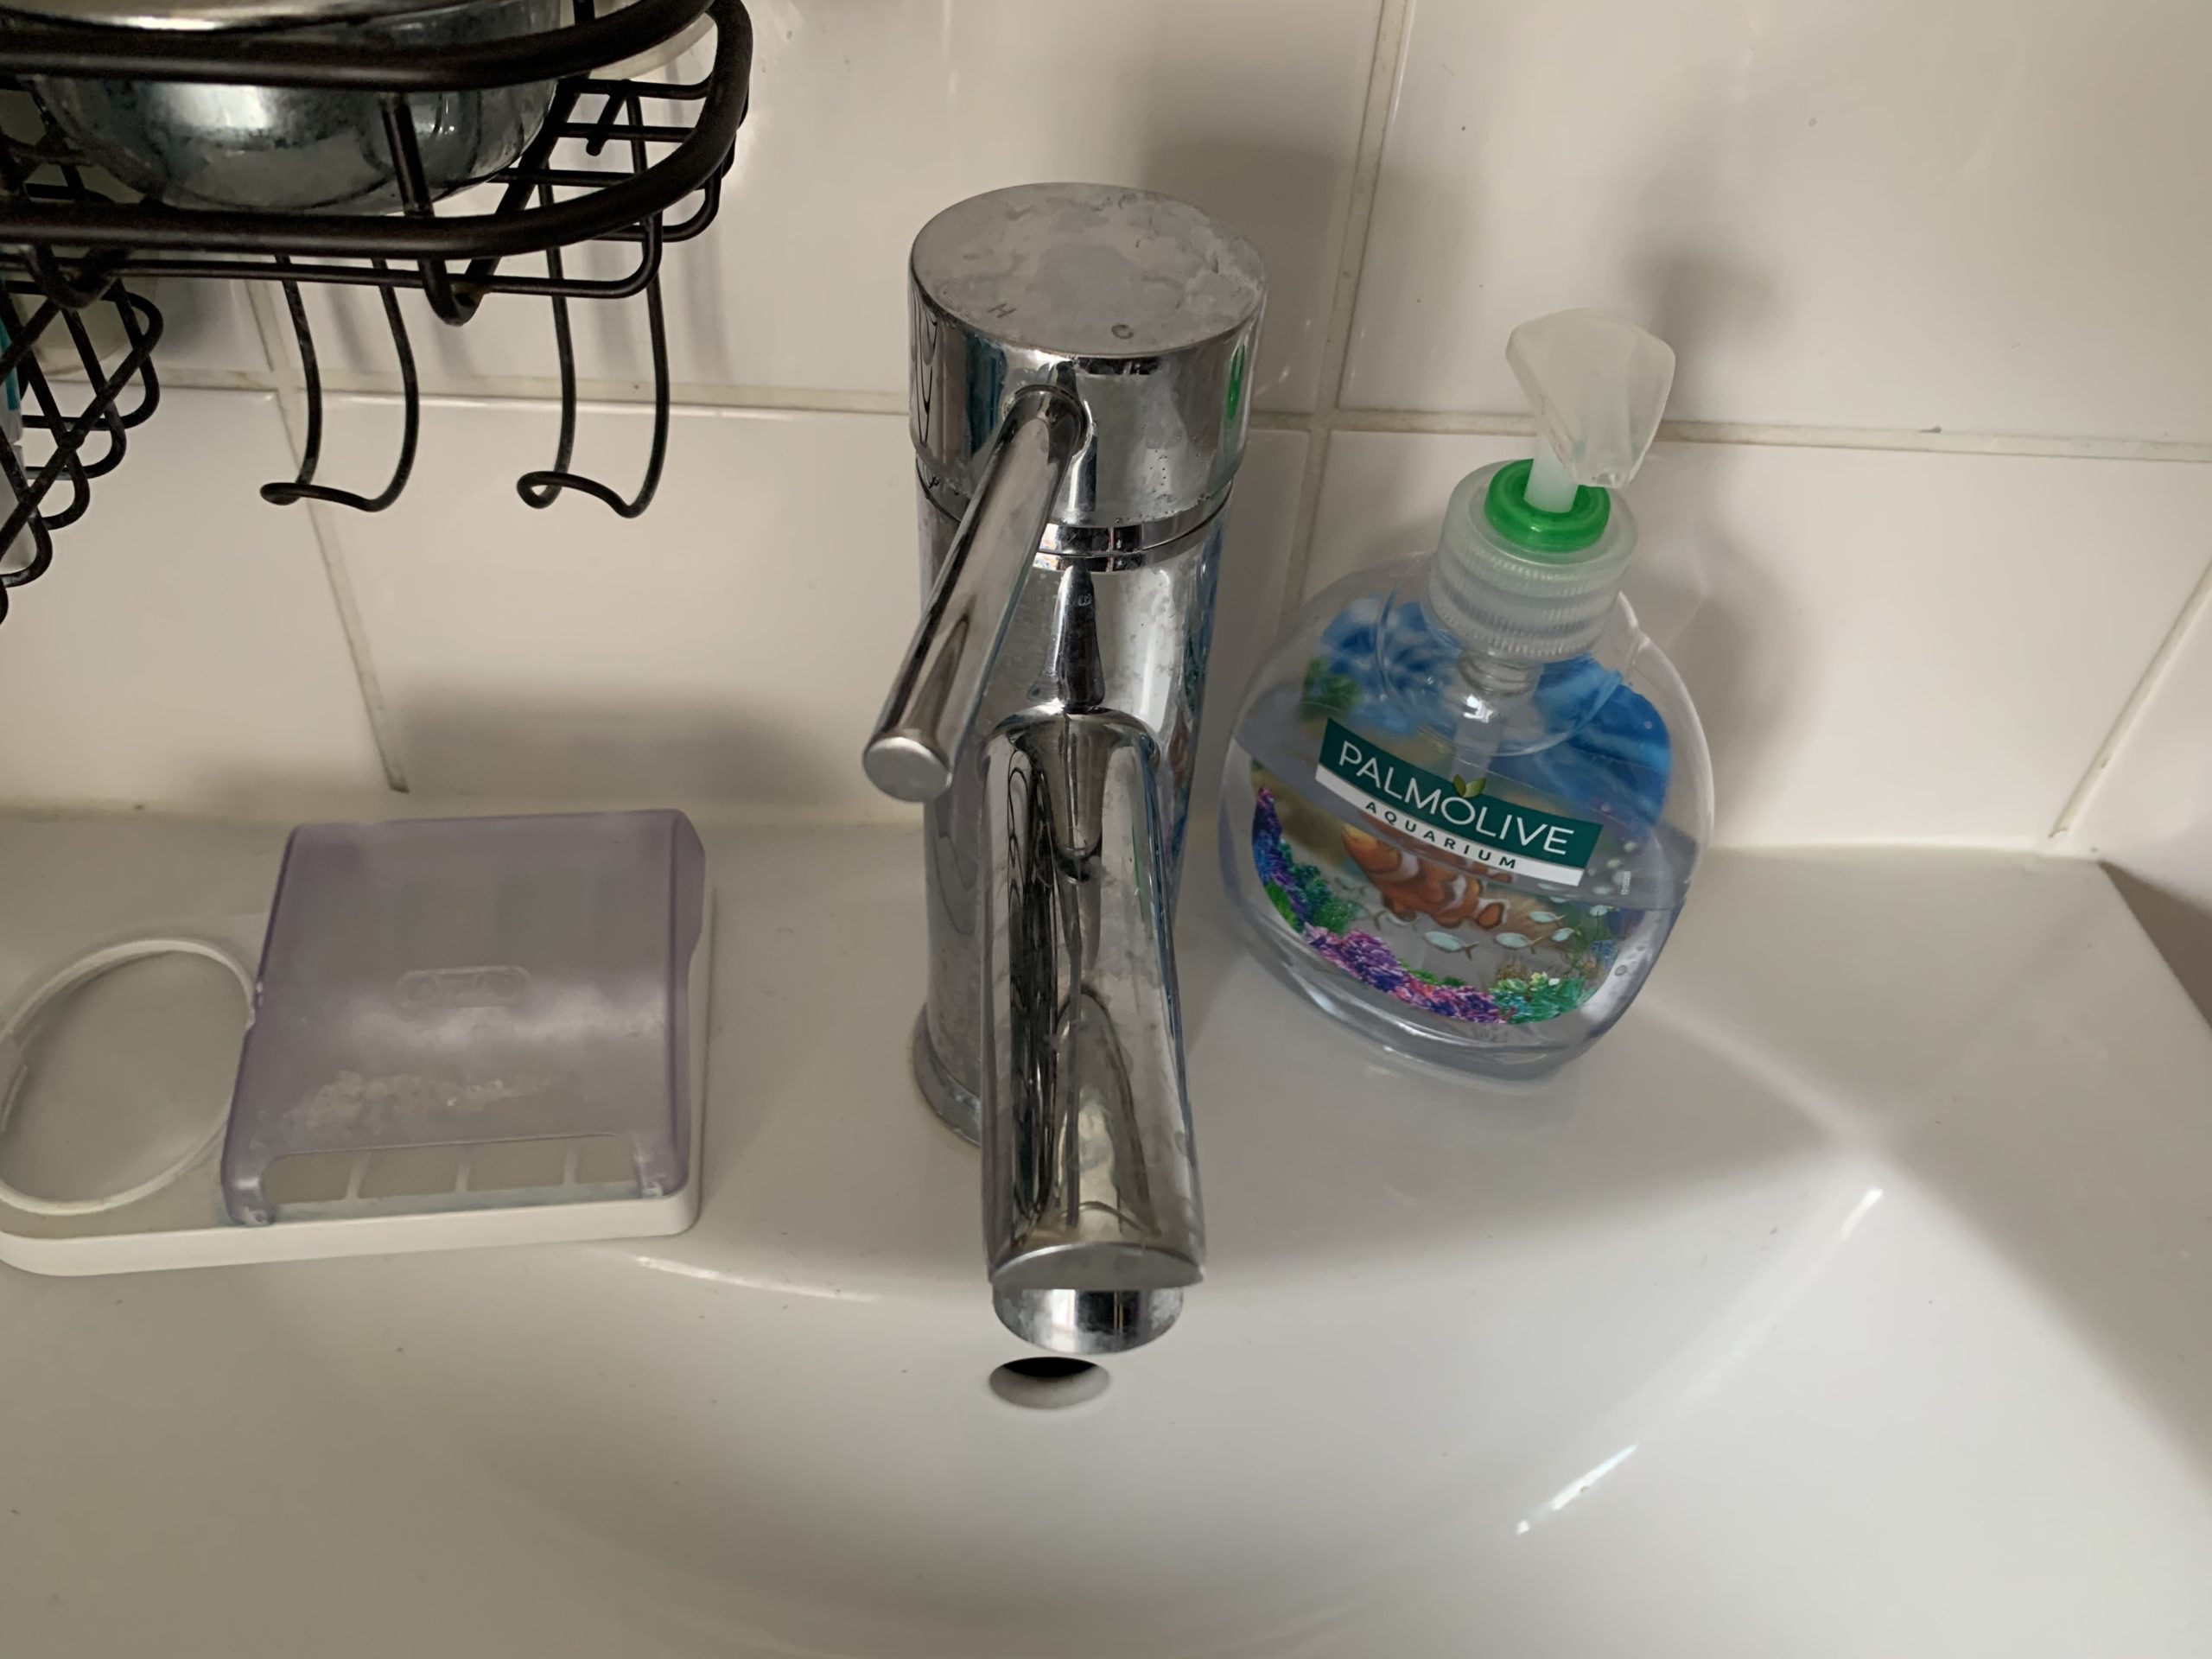
Within the UK, there are commonly two types of taps that are in use (aka faucet for our American brothers and sisters): you either have the traditional tap i.e. two separate taps, one for hot water and one for cold water or you have a monobloc mixer tap i.e. one tap with hot and cold water coming from the same sprout. Usually, the traditional tap drips because either its internal rubber seal, that is, its washer needs replacing. A monobloc mixer tap either has rubber washer or a ceramic cartridge and from time to time, this needs replacement as it gets worn down. For some of us who have a very expensive monobloc tap, be prepared to pay top pounds (or dollars) for a replacement cartridge.


Required Tools and Tap Materials
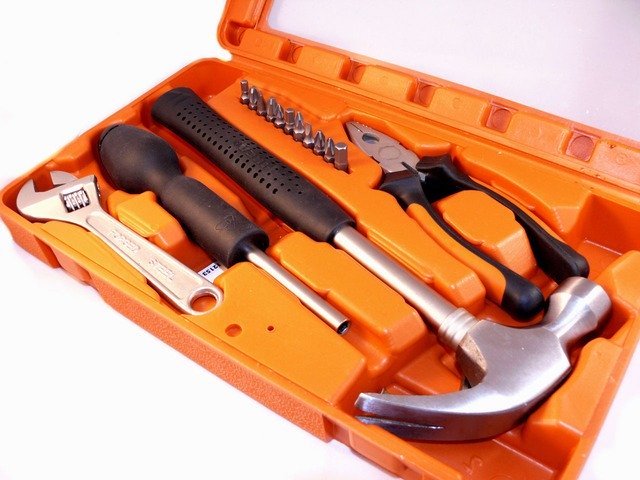
To repair your leaking tap, you will definitely require the following items:
- The replacement cartridge/washer.
- Slot or cross-head screwdriver
- Adjustable spanner
- PTFE tape

Let Us Begin
Now that you have the required parts &/or tools, it’s time to begin. In order to repair your tap, you will need to take the following steps.
You are going to have to turn off your water supply to your property or if you are lucky this can be isolated below the tap. Prior to turning off your water please make sure that your cold tap is running. When fixing a leak on the kitchen tap it is important to leave open a tap in your bathroom and vice versa, you get the idea. Do not turn off your tap at all even after you have turned off your water.
An avid DIYer will know that before commencing any plumbing work, it is vital that the water supply to the property be turned off and checked that it has been turned off, but for those of us who do not know how to turn your water off this is for you. If still confused, take a look at our blog on how to turn off your water valve (isolation valve). How will you know that you have completely turned off your water? Good question – remember that cold water tap that you left running, no more water will be coming from it. If it is still running leave it for a couple of minutes and then check again.
Once you have managed to turn off your water you can then commence fixing your leaking tap.

Finally
Oh, one other thing that you must remember on how to fix a leaking tap when you go to turn back on the water please ensure that the cold side of the tap that you turned off, is still open. By doing this when the water comes back on, the pressure will be released especially if you have a tank fed system this will prevent in most cases airlock. The water will come back splashing out until the pressure has been regulated. Once water is flowing without spitting you can turn off the tap.
On the other hand, if you are not the avid DIYer and want to call in the professional, then contact us.

I must say thank you for taking the time to explain this plumbing issue. Great blog keep up the good work.
Hey Amir, thanks for stopping by. Stay safe.
I think this is an informative post, and it is very useful and knowledgeable. I would like to thank you for the efforts you have made in writing this article.
Nice information, Thanks for sharing this informative blog with us.
A water leak is a really big issue. It creates unnecessary expenses. Thanks for sharing this information with us.
Most welcome again Tony.
Nice blog! Thanks for sharing this useful information.
You are most welcome.